Salesforce Tutorials: Event Data Maintenance
Registration names from our events are a valuable source of client contact as well as a means to generate new leads. The following procedures ensure that Salesforce is updated for all registrants. Through these procedures, you will add new leads and update existing contacts.
1.Downloading an Event Registration List from Eventbrite
- Login to Eventbrite and click on the Event tab at the top of the page.
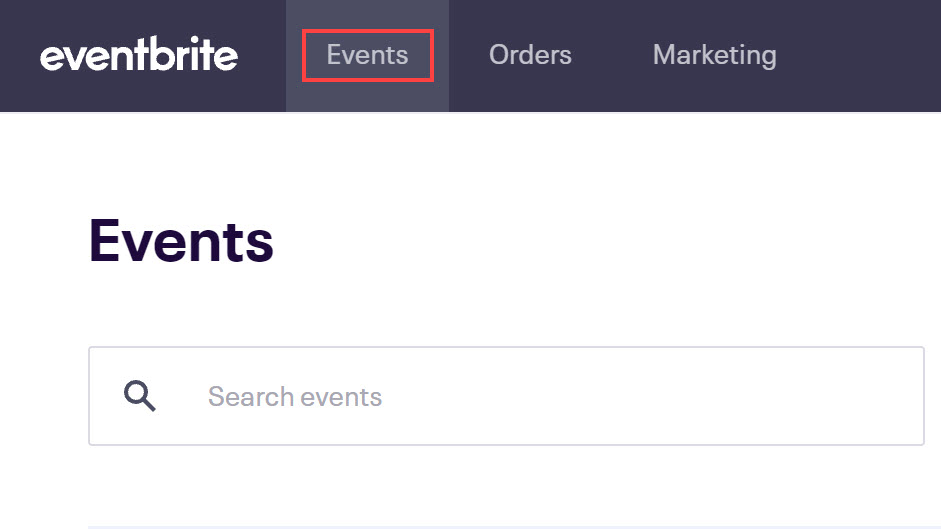
2. Find the event you want to download a contact list from and click on it. You will be directed to the Event Dashboard.
3. Scroll down and click on Attendee Summary beneath Common Reports.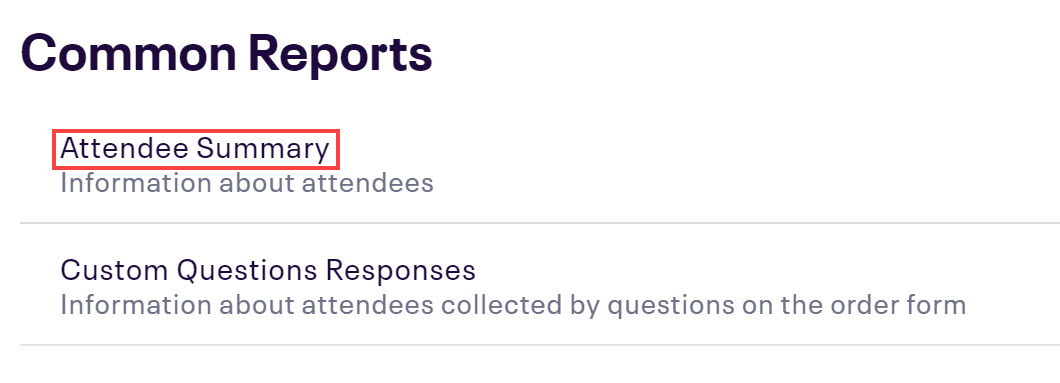
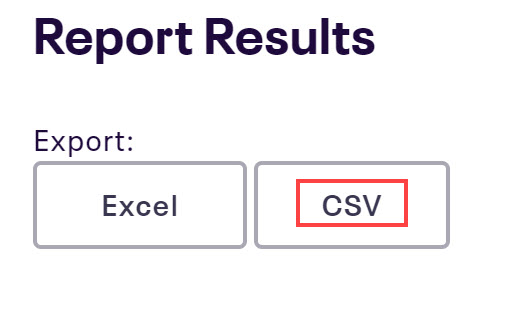
4. On the Attendee Summary page, scroll down to the Report Results and click CSV.
5. Open the CSV file and save it to your computer. It will be used to upload contacts into Salesforce.
-
- Name the file ChiPay_Attendees_(mm/yy)
2.Creating a Salesforce Import List from an Event Registration List
1. Download the ChiPay template from Dropbox and open it up. These are the fields you will see:

When filling out the template, you will take the contact information from the Eventbrite list and fill in the First Name, Last Name, and Email Address. If the company is not provided, look the contact up in Salesforce or LinkedIn to try and find the company.
2. Always check Salesforce first. Don’t have to describe this, Collin will add.
- We check Salesforce to see if the contact exists in our database. If they are not in Salesforce, then we know they are a first-time attendee.
- If the contact is in Salesforce and is a Lead, we don’t do anything. See if they have attended the ChiPay before. If they have, we don’t do anything. If they haven’t, put the month and day under the ‘First Attended’ box in template. If they are a contact in Salesforce, put an X under the ‘Contact’ box in the template.
- If the company is still unknown, type [unknown] in the box.
- Leave the following boxes blank: ChiPay Registered, ChiPayAttended, First Attended, and Last Attended.
- Delete the ‘Last Attended’ field from the template and make it ‘Contacts’ instead.
3. Make sure the Finance box for each contact has an X.

4. The Lead Source box should say Networking for each contact.

5. The Networking Event box should say Chicago Payments Forum for each contact.

3.Importing a Contact List into Salesforce
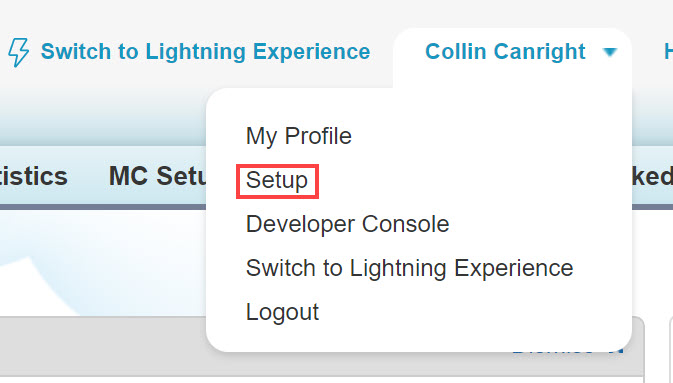
- Go to Set-up under the Collin Canright tab at the top of the page. Click on it. You will be directed to the System Overview page.
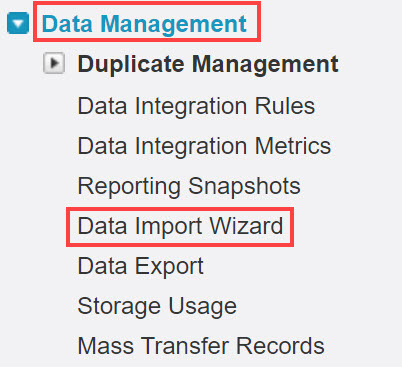
- On the System Overview page, go to the left side of the screen and scroll down to Data Management beneath Administration Setup. Click on it and more options will populate beneath. Click on Data Import Wizard.
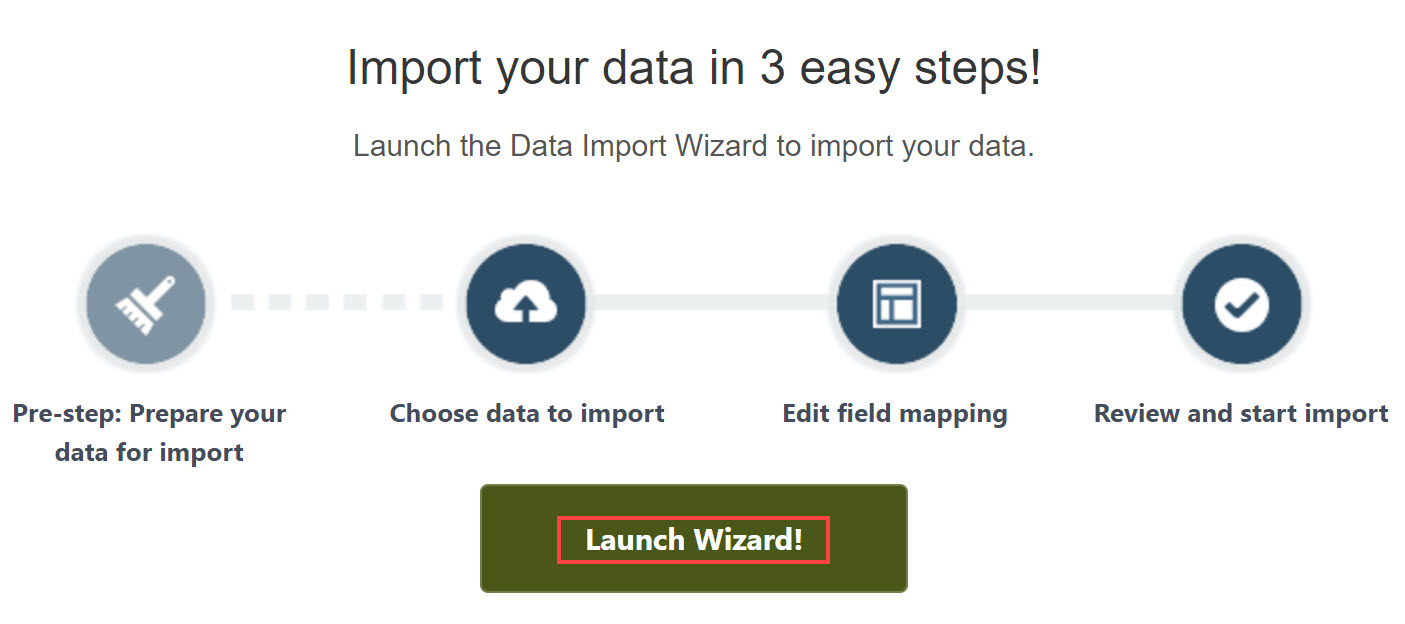
- On the new page, scroll down to the Launch Wizard button and click on it.
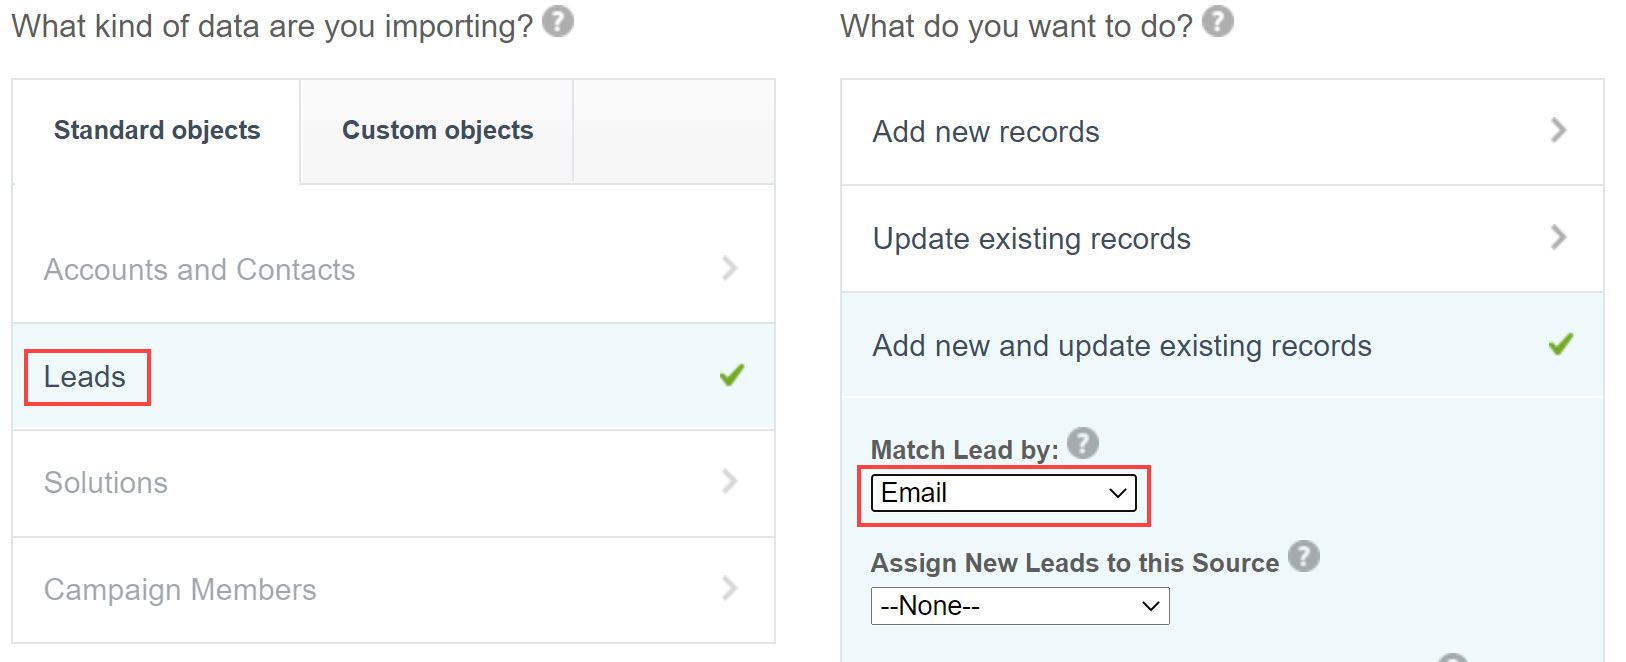
- On the new page, scroll down and click on Leads on the left-hand side of the screen, then in the middle of the screen, click Add new and update existing records. Beneath Match Lead By, choose Email from the drop-down menu.
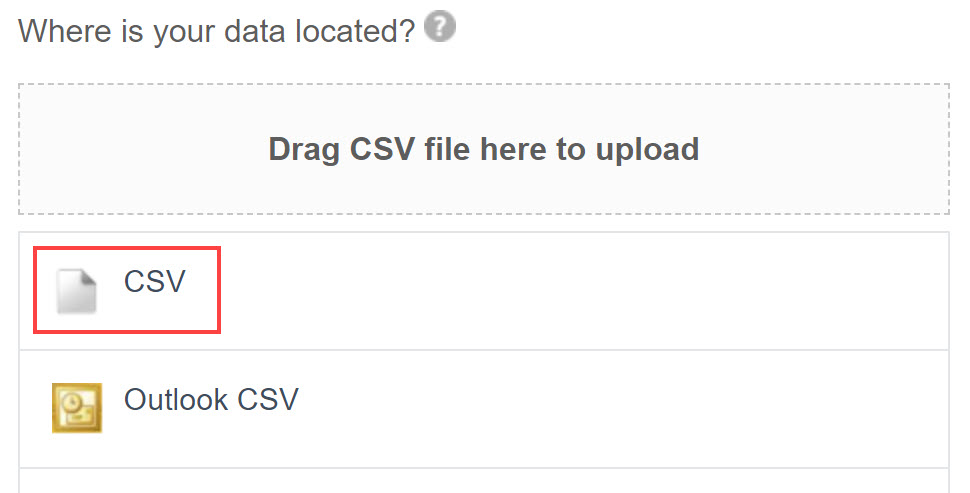
- To the right of the screen, click on CSV and choose the file to upload.
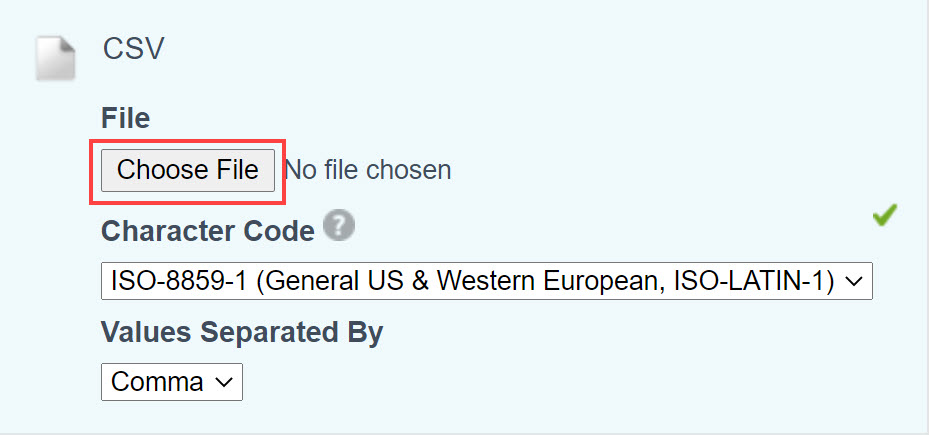 When the Choose File window opens, make sure to change the setting to All Files.
- Click Open.
- The screen will move to the Edit mapping step. Click Next.

- The screen will move to the Review and Start Import Click Start Import on the lower right hand side of the screen.

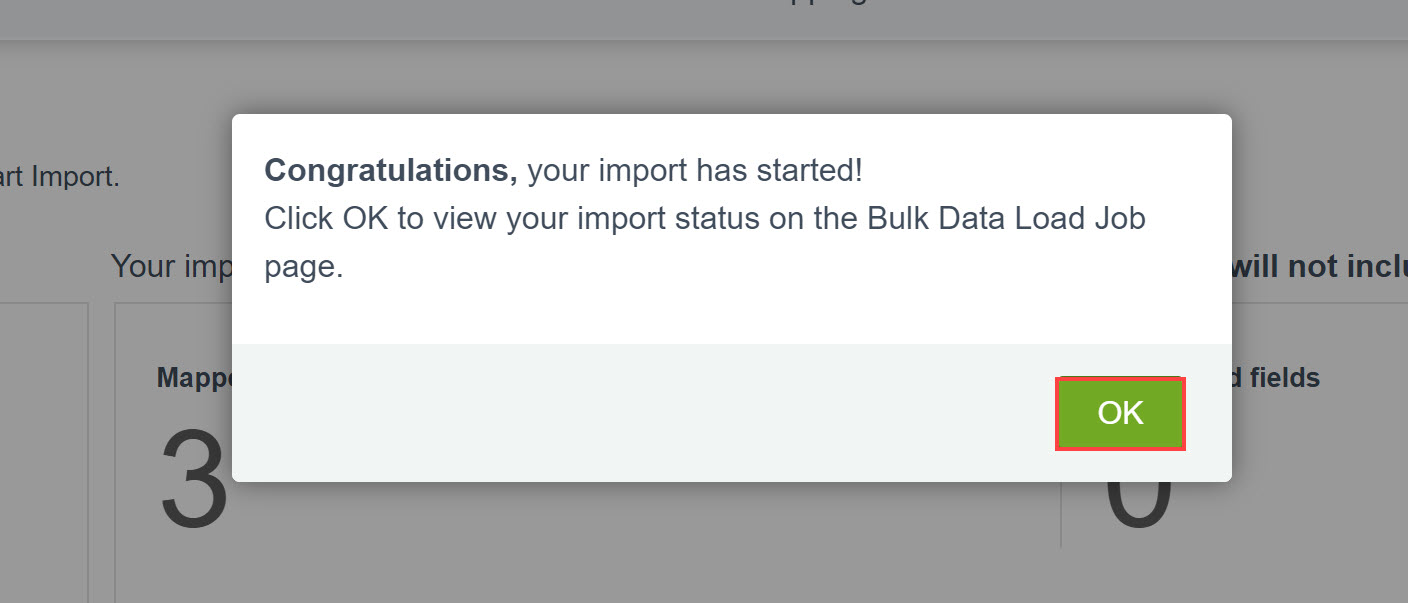
- A screen notifying you that the import has started will pop up. Click OK.
